Requirements
To use Drive Badger, you need at least one USB drive:
- for learning and testing, you can use absolutely any USB drive, that has at least 4 GB capacity
- for real attacks, you should read Recommended hardware - you will find the detailed explanation of differences between cheap pen drives and more expensive external SSD drives, as well as our hardware recommendations
Obtaining drive encryption keys
Drive Badger supports 4 most popular drive encryption methods: Bitlocker and VeraCrypt (Windows), LUKS (Linux) and Apple FileVault (Mac OS). But it is your responsibility to obtain encryption keys and configure them on Drive Badger device(s) - without this, accessing encrypted drive won't be possible.
Installing
Here you can find the installation manual, divided between installing Kali Linux and Drive Badger itself. If you don't need to customize anything, here you can find the complete install script. This is the minimum.
Now, to really understand Drive Badger, you should also read about:
- configuration repositories - this is the way of configuring Drive Badger devices (choosing most relevant exclude rules, and configuring recovery keys for Bitlocker, Apple FileVault, LUKS and VeraCrypt)
- hook repositories - this is the way of extending Drive Badger with additional functionality
Ok, I have a prepared drive. How to use it?
-
shutdown the operating system on target computer
-
connect the USB drive - preferably to USB 3.0 port
-
boot the computer from connected USB drive:
- on PC, try pressing F12, F11, F9 or F2 during pre-boot process, and then choosing the connected drive from boot menu (if you can't get into boot menu, look for your computer model here)
- on Mac, follow these simple instructions from Apple
-
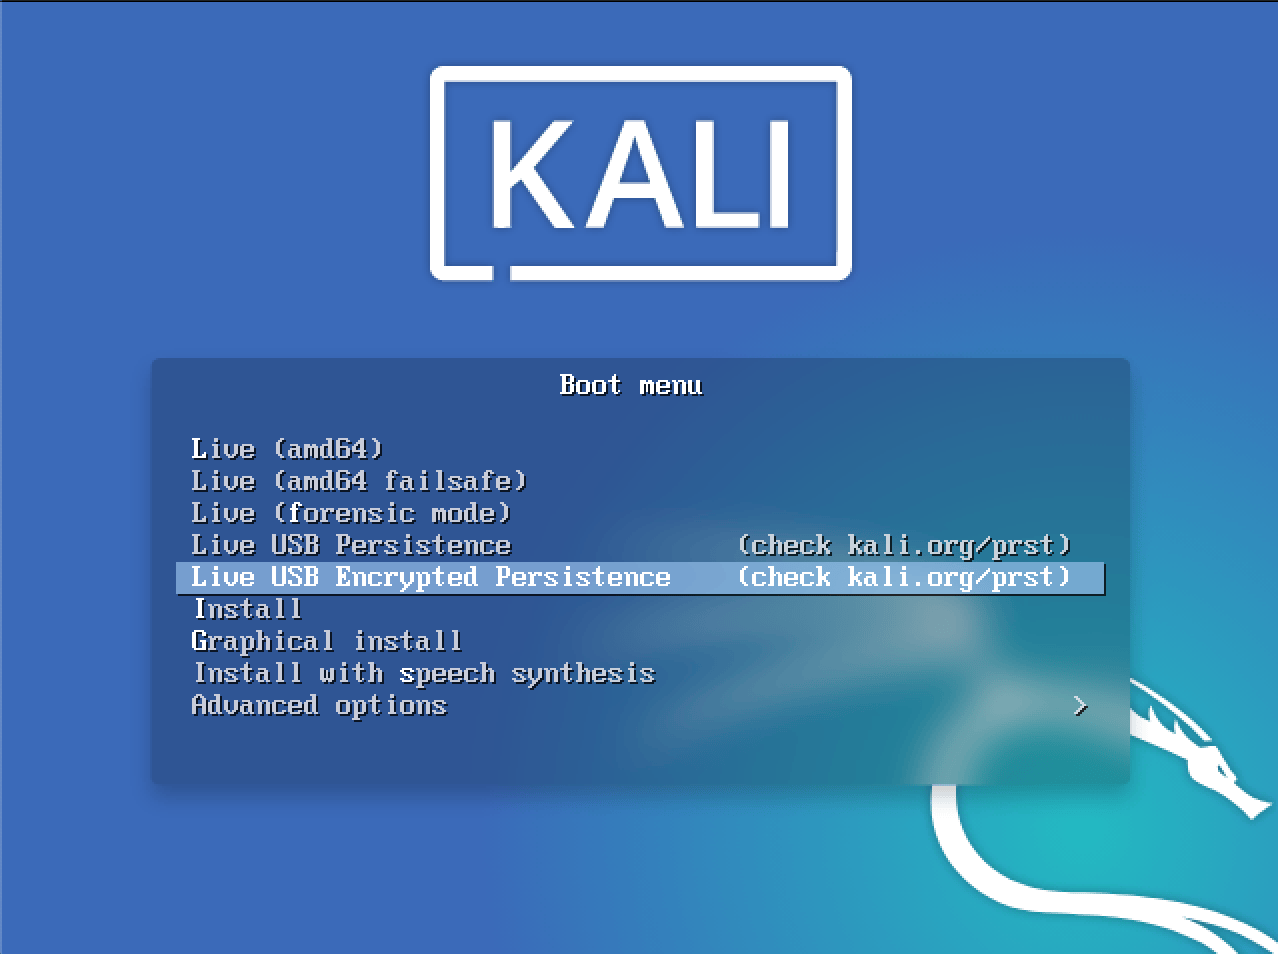
on the following screen, choose option Live USB Encrypted Persistence

-
after few seconds, you'll be asked for password - enter it
-
after a while, attack will start automatically in the background, while you will get the text console - you can use it as a disguise, or to show attack progress in the realtime
That's all. After approximately 2-3 minutes, your USB drive will contain a copy of all interesting data from that computer. You can then switch to another computer - and after finishing them all, analyze the collected data.
